6. Starting Solr in Cloud Mode with External Zookeeper Ensemble on different Machines
Apache Solr Tutorial
- Apache Solr6 Download & Installation
- Starting Solr in Standalone Mode
- Starting Solr in Cloud Mode with Embedded Zookeeper
- External ZooKeeper 3.4.6: Download & Installation
- Solr cloud mode with External Zookeeper on a Single Machine
- Solr cloud mode with External Zookeeper on different Machines
1. Creating Zookeeper Cluster on Different Systems
To create a cluster of Zookeeper on different systems, create three copies of the extracted ZooKeeper folder and name them as ZooKeeper1, ZooKeeper2 and Zookeeper3.
Now we will arrange a cluster of three nodes on the same host. Below is the cluster map:
Node 1: /Home/Desktop/zookeeper/zookeeper1/
Node 2: /Home/Desktop/zookeeper/zookeeper2/
Node 3: /Home/Desktop/zookeeper/zookeeper3/
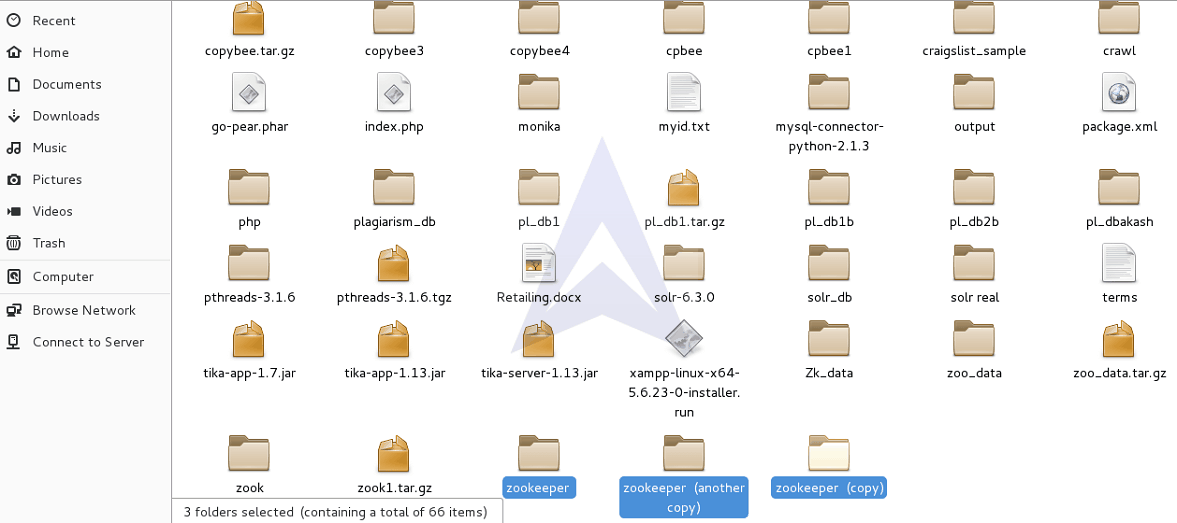
After creating multiple copies of ZooKeeper, let’s create a data directory to store the data and log files for Zookeeper ensemble.
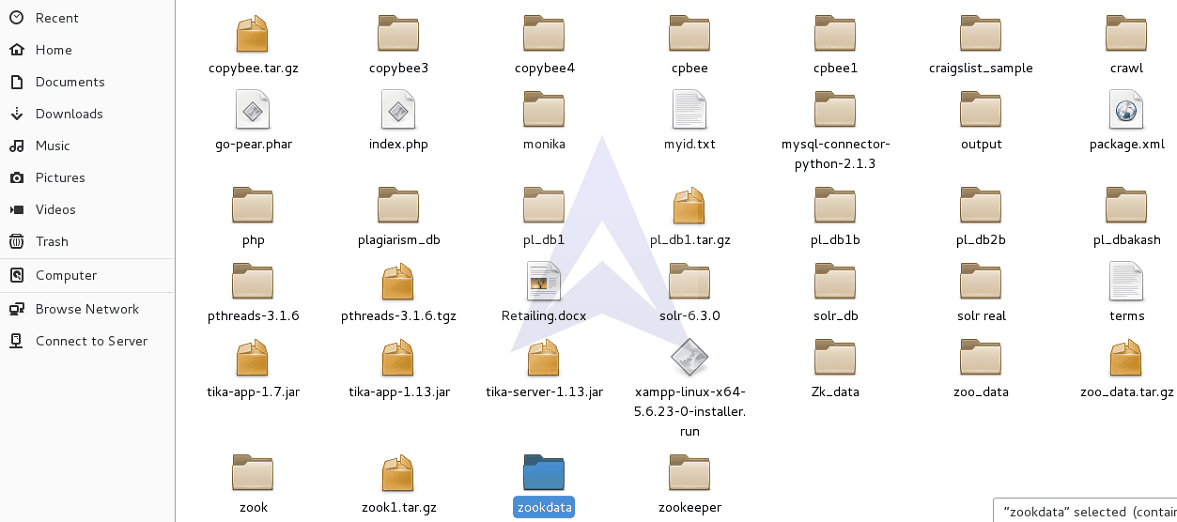
Now, create three Zookeeper data directories to store data and log files for three individual ZooKeeper ensembles and name it as zook1, zook2 and zook3.
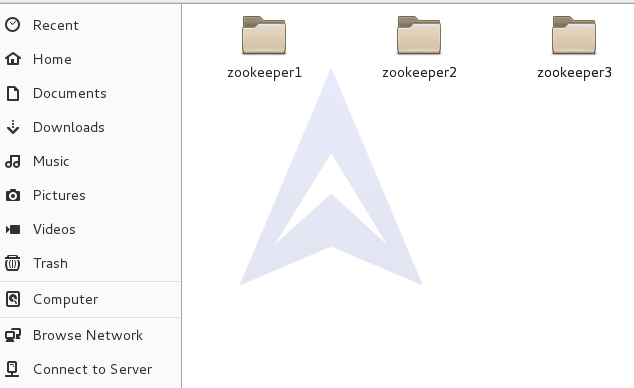
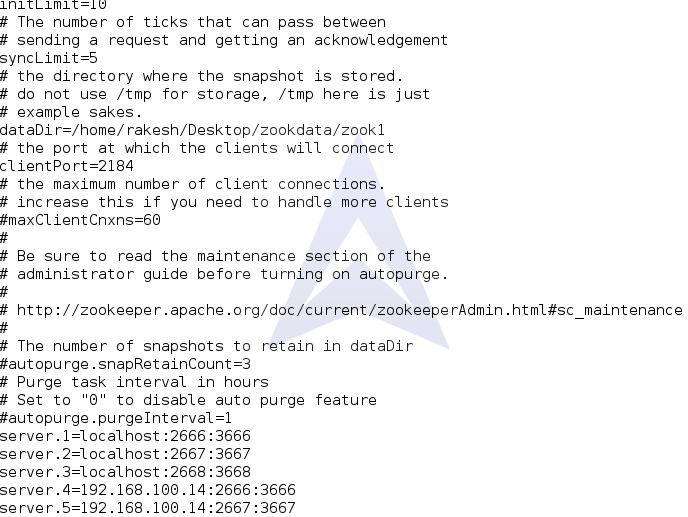
After replicating the ZooKeeper directories let’s make the required changes in the zoo.cfg file for the Node1 by adding the IP address of the host we want to connect with.
{`
tickTime=2000
initLimit=10
syncLimit=5
dataDir=/home/rakesh/Desktop/zookdata/zook1
clientPort=2184
server.1=localhost:2666:3666
server.2=localhost:2667:3667
server.3=localhost:2668:3668
server.4=192.168.100.14:2666:3666
server.5=192.168.100.14:2667:3667
`}
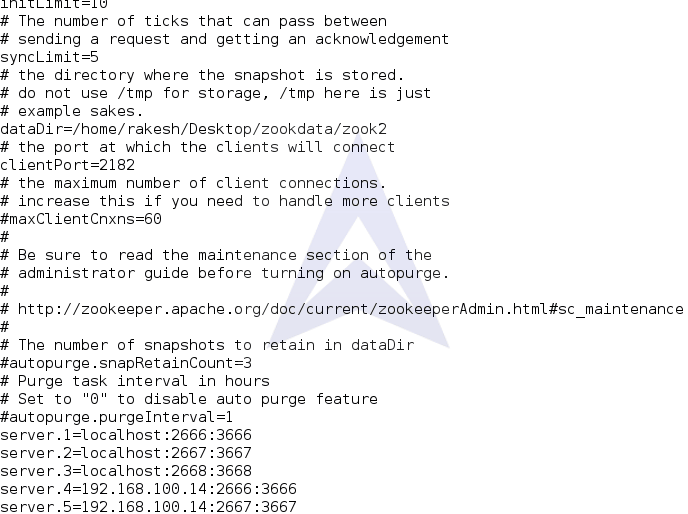
Here is the zoo.cfg file for the Node2. Let’s add the IP address of the host we want to connect.
{`
tickTime=2000
initLimit=10
syncLimit=5
dataDir=/home/rakesh/Desktop/zookdata/zook2
clientPort=2182
server.1=localhost:2666:3666
server.2=localhost:2667:3667
server.3=localhost:2668:3668
server.4=192.168.100.14:2666:3666
server.5=192.168.100.14:2667:3667
`}
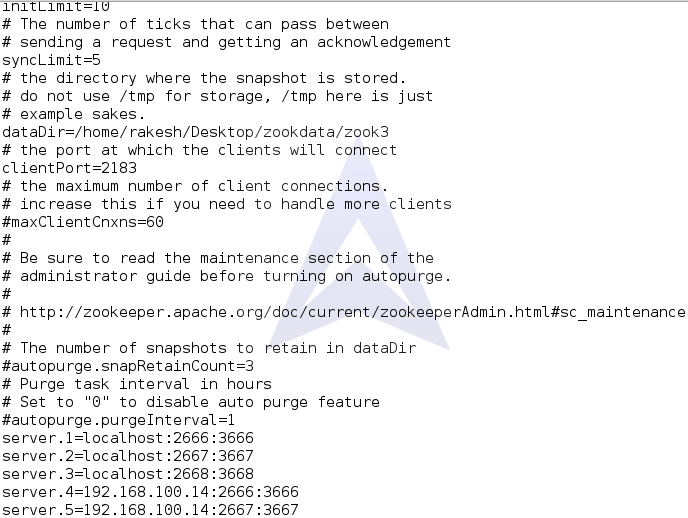
Here is the zoo.cfg file for the Node3. Let’s add the IP address of the host we want to connect.
{`
tickTime=2000
initLimit=10
syncLimit=5
dataDir=/home/rakesh/Desktop/zookdata/zook2
clientPort=2183
server.1=localhost:2666:3666
server.2=localhost:2667:3667
server.3=localhost:2668:3668
server.4=192.168.100.14:2666:3666
server.5=192.168.100.14:2667:3667
`}
2. Running Zookeeper Client
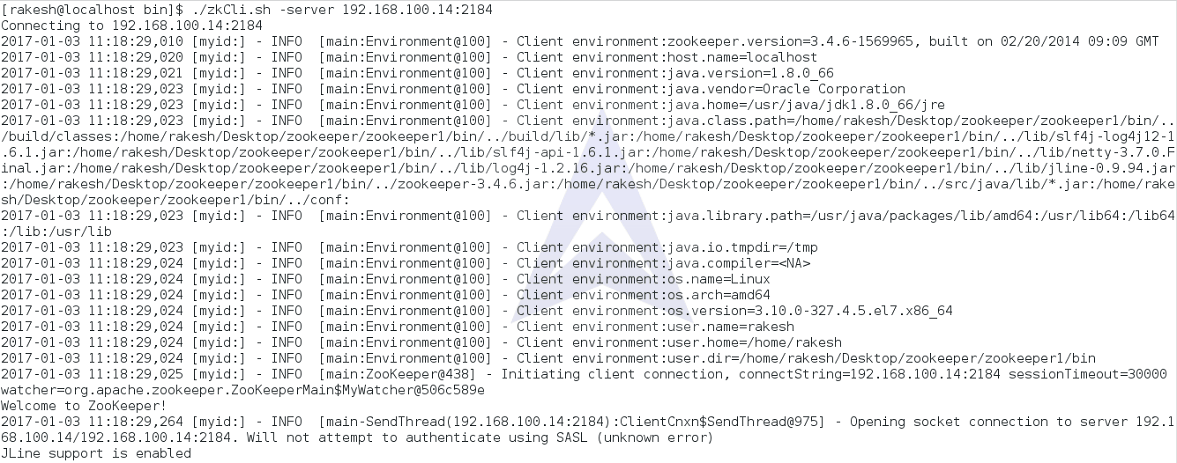
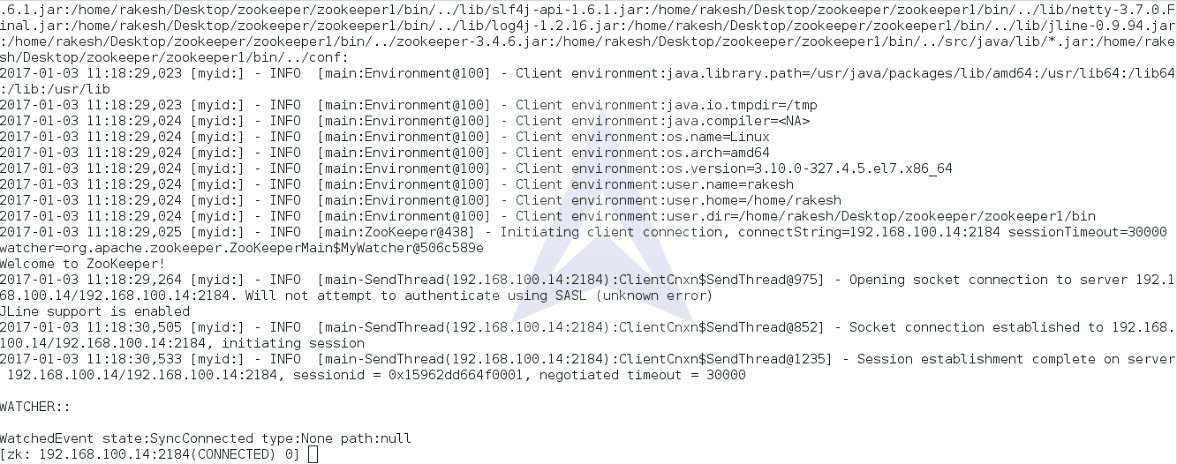
To run ZooKeeper Client with different hosts, use the command:
{`$ ./zkCli.sh -server 192.168.100.14:2184`}
3. Starting Solr in Cloud Mode with multiple ZooKeepers on Different Machines
To start Solr in Cloud mode with the created ZooKeeper instances on different machine use the following command:
{`$. /solr start -c -p 8984 -z localhost:2184,localhost:2182,localhost:2183, 192.168.100.14:2184, 192.168.100.14:2182`}

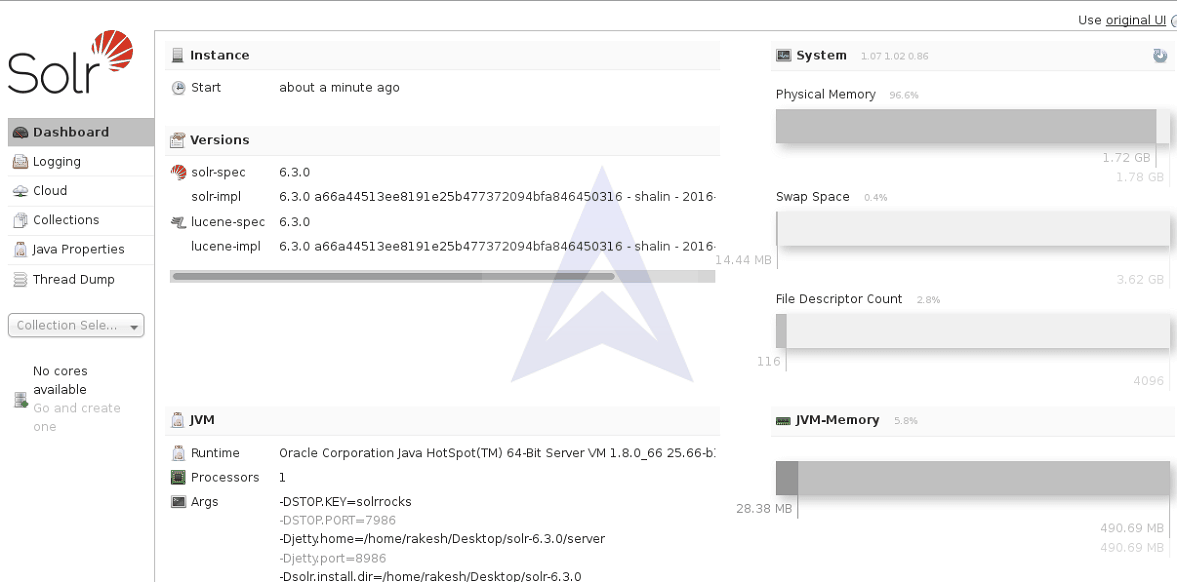
We can visit localhost:8986 on the web browser to redirect to the Solr Cloud GUI.
4. Creating Collection
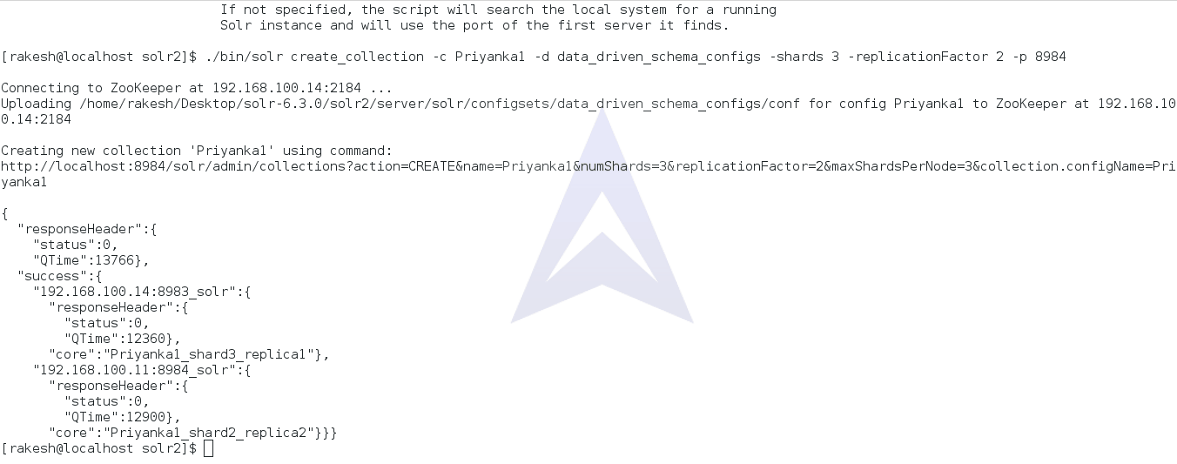
Now, we will create a collection using the following command after establishing connection between Solr and Zookeepers on different machines.
{`$ ./bin/solr create_collection -c Priyanka1 -d data_driven_schema_configs -shards 3 -replicationFactor 2 -p 8984`}
Now, let’s visit localhost:8984 to check the leader and follower allocation between Solr on different machine.
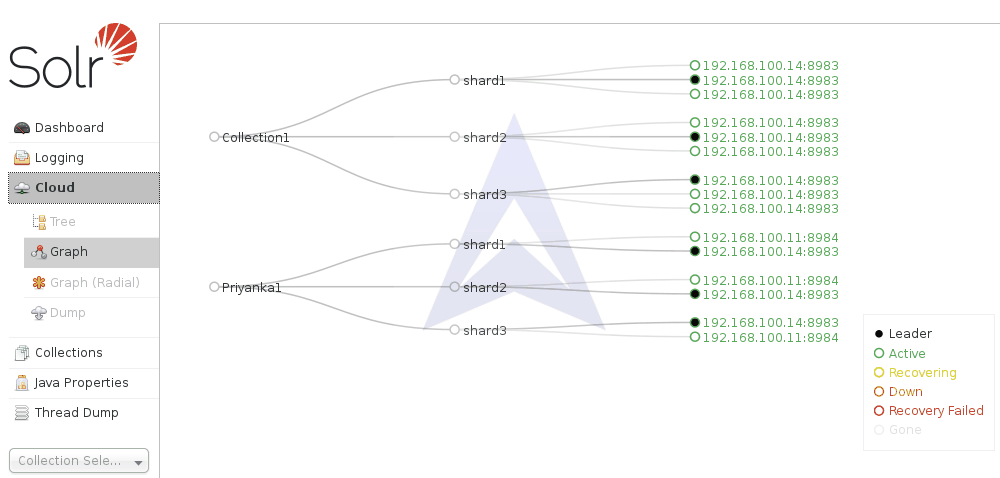
Here, we can see in the second collection that the replicas of the shards created is divided between Solr on host 192.168.100.14 & 192.168.100.11 and accordingly leader and follower is assigned between the hosts on two different machine.
5. Posting Documents to the Collection
To post the documents to the Collection created previously we will use the following command:
{`$ ./bin/post -c Priyanka1 example/exampledocs/*.xml -p 8984`}
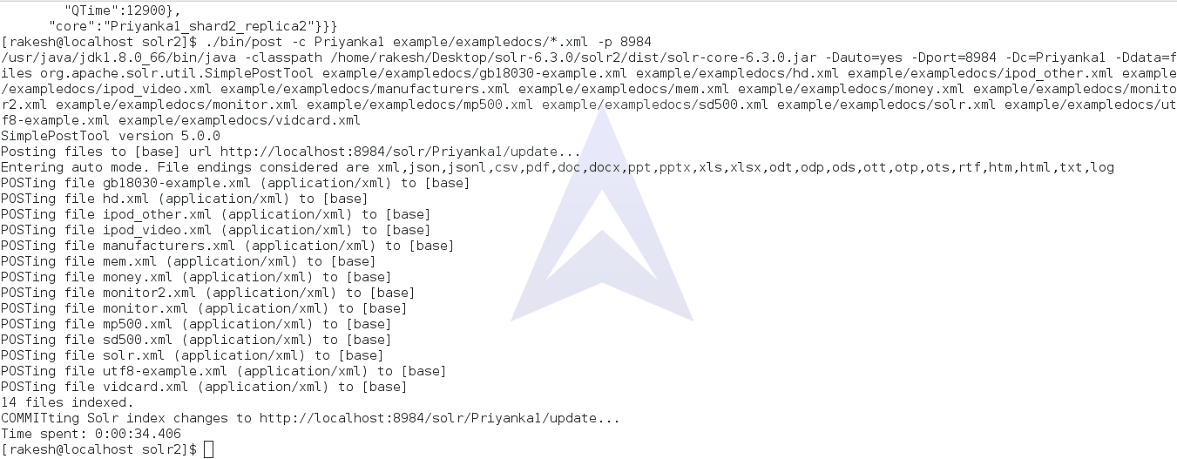
We have successfully posted documents to the collection created. Since, we are connecting Solr and ZooKeepers on two different machines, the created collection will be replicated to both the hosts.
Now, let’s run the query on the posted documents in the next section.
6. Running Query on the documents posted in the Collection
To run the query, we will log into http://localhost:8984/solr on the web browser and move to the query section in the created collection.
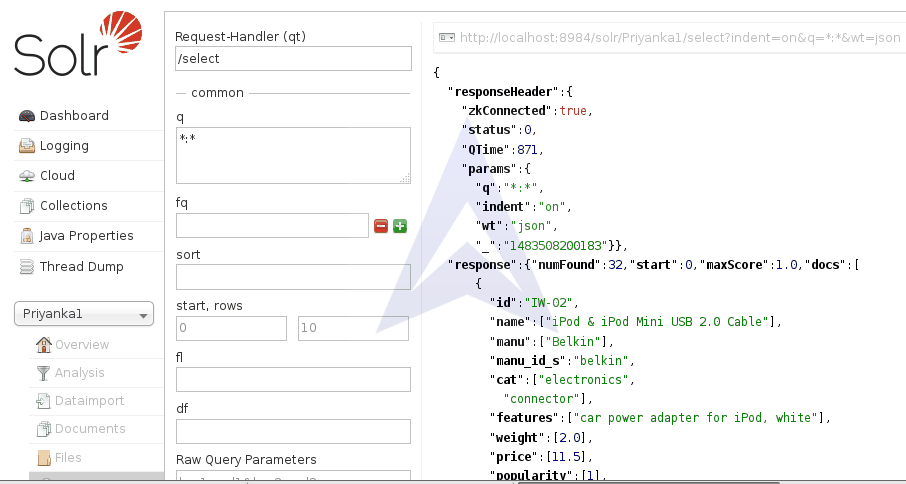
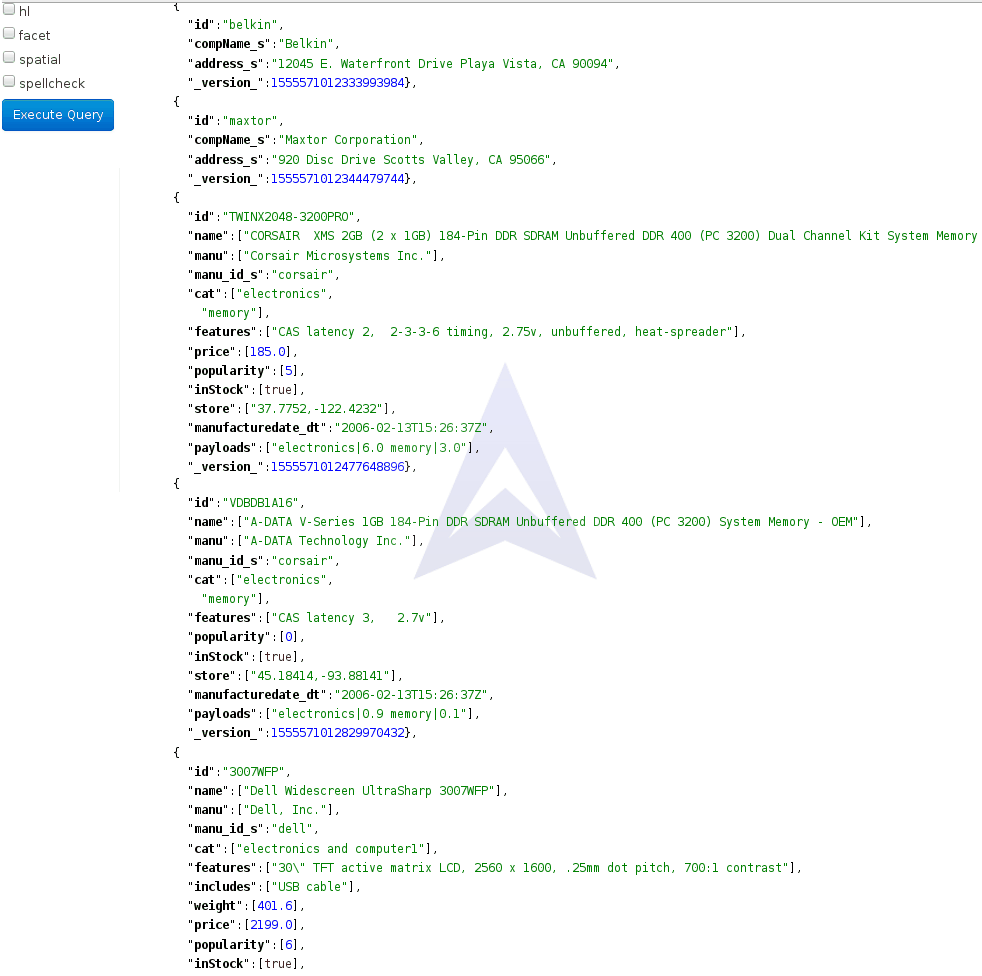
We can fire a query according to the requirements in the -q field. Solr GUI also gives the feasibility to apply filters on the query.
7. Shutdown Solr
To end Solr, we can use the following command.
{`$ ./bin/solr stop`}
This will shutdown Solr cleanly.
Solr is fairly robust. In the situations of OS or disk crashes, it is unlikely that Solr's index will become corrupted.
BIBLOGRAPHY
[1] “Learn more about Solr.” www.apache.com.
[2] “Zookeeper - Overview” www.tutorialspoint.com.
[3] “Next-generation search and analytics with Apache Lucene and Solr 4” www.ibm.com. Grant Ingersoll, CTO, LucidWorks. 28 October 2013.
[4] “Who is using Lucene/Solr” www.lucidworks.com. LucidWorks. January 21, 2012.
